
Printing Labels
Complete guide to printing labels in Clarix — in-process vessel labels from batch steps, lot labels from inventory, batch ID labels, and the Zebra ZPL workflow.
Printing Labels
Overview
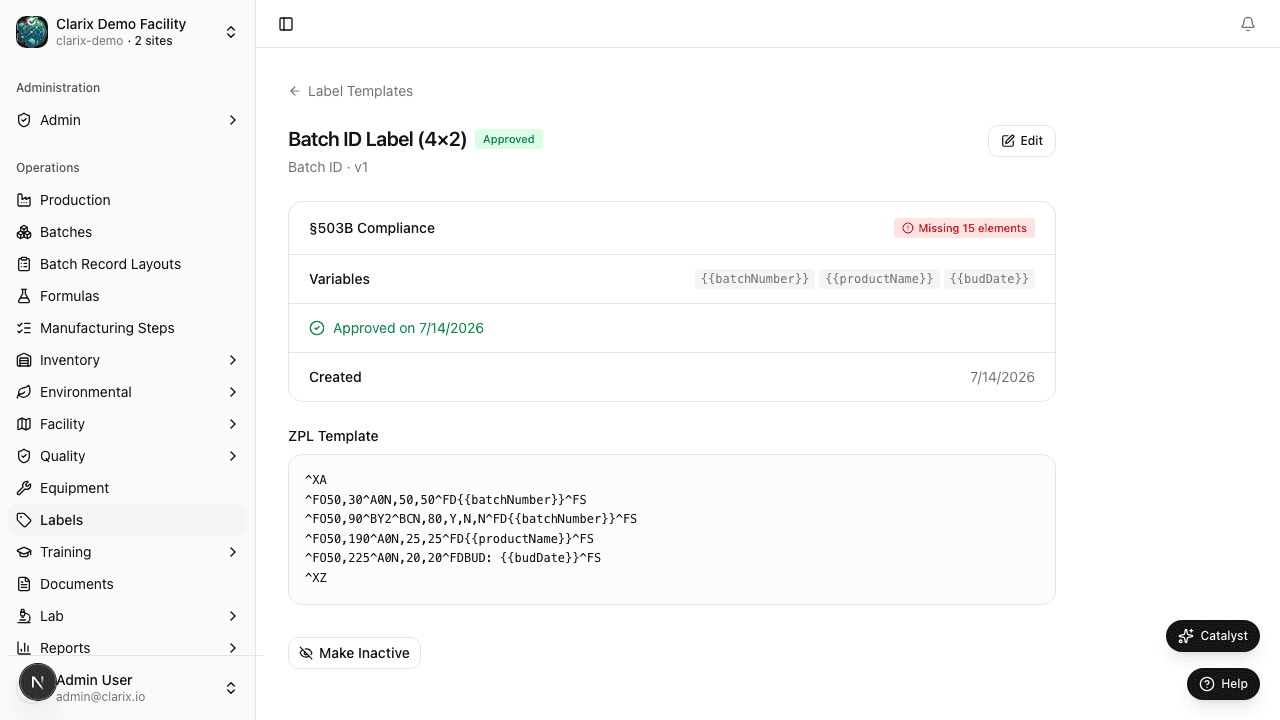
Clarix supports four label types, each printed from a different part of the application using an Approved ZPL template. All label printing flows through the same label preview dialog, which populates template variables with live record data and offers three output paths: direct network print to a Zebra printer, ZPL copy for manual submission, or PDF via the browser print dialog.
Label Types
| Label Type | Where to Print From | Primary Use |
|---|---|---|
| In-Process Vessel Label | Batch step (measurement step complete) | Identify vessels, containers, and in-process materials during compounding |
| Batch ID Label | Batch record header | Affix to the master batch record folder or outer container |
| Inventory Lot Label | Inventory → item → Lots tab → action menu | Label bulk ingredient or finished product lots |
| Custom | Labels module directly | Ad-hoc labels not tied to a specific batch or lot |
In-Process Labels from Batch Steps
In-process vessel labels are printed directly from within a batch record during manufacturing:
- Open the batch and navigate to the relevant measurement step.
- Complete the step — once the step status is Complete, a Print Label button appears in the step header.
- Click Print Label to open the label preview dialog.
- Select an Approved In-Process template from the template dropdown. Only templates with Approved status are shown.
- Review the preview — the template is rendered with actual batch values populated:
- Batch number
- Product name
- Lot number
- Beyond-use date (BUD)
- Operator name
- Confirm the preview dimensions match the physical label stock loaded in the printer (e.g., 76 × 32 mm tray label, 101 × 64 mm standard vessel label).
- Choose a print path (see Print Paths below).
Lot Labels from Inventory
Lot labels are printed from the Inventory module for ingredient and finished product lots:
- Navigate to Inventory and open the relevant item.
- Click the Lots tab.
- In the action menu (
⋯) for the target lot, select Print Label. - Select an Approved Inventory Lot template from the dropdown.
- Preview the label — lot-specific values are populated automatically:
- Lot number
- Expiry date
- COA assay value (if recorded)
- Barcode (lot number encoded in the template's barcode field)
- Choose a print path.
ZPL Workflow and Printer Configuration
Clarix generates ZPL (Zebra Programming Language) output for all label types. The generated ZPL includes ^PW (print width) and ^LL (label length) commands that configure the physical label dimensions on the printer automatically.
Three Print Paths
| Path | How It Works | Best For |
|---|---|---|
| Send to Zebra | Clarix sends the ZPL directly to a Zebra printer over the network | Primary path when a Zebra printer is configured |
| Copy ZPL | Copies the ZPL string to the clipboard | Manual submission via Zebra Browser Print or ZebraDesigner |
| Print PDF | Opens the browser print dialog with a PDF rendering of the label | Non-Zebra environments or proof prints |
Configuring Direct Network Printing
- Go to Settings → Integrations → Label Printers.
- Click Add Printer and enter the Zebra printer's IP address and port (default: 9100).
- Assign a display name and optionally set it as the default printer.
- Click Test Connection to verify the printer is reachable before saving.
Once configured, Send to Zebra becomes available in the label preview dialog for all label types.
Template Selection and Defaults
- Only templates with Approved status appear in print dialogs. Templates in Draft or Under Review are excluded.
- The most recently used template per label type (In-Process, Lot, Batch ID, Custom) is remembered as the session default and pre-selected the next time you open the print dialog during the same browser session.
- To change the default permanently, open the Labels module and set the desired template as the preferred default for each type.
Edge Cases
Note: Template not yet approved — if the template you need is in Draft or Under Review, it will not appear in the print dropdown. A QA user with the appropriate role must approve the template in the Labels module before it becomes available for printing.
Note: Printer offline — if Send to Zebra fails because the printer is unreachable, Clarix will display an error and offer the Copy ZPL fallback automatically. Paste the ZPL into Zebra Browser Print or a USB-connected ZebraDesigner session to complete the print job.
Note: Label preview shows wrong dimensions — if the preview does not match your physical label stock, the template was not saved with the correct width and height values. Edit the template in the Labels module, update the dimensions, and submit it for re-approval before printing.
Related Pages
Label Templates
Design, version, and approve Zebra ZPL label templates with dynamic variables, and print labels from batch and inventory records.
Facility Overview
Configure and visualize your facility's rooms, ISO classifications, equipment locations, and environmental monitoring sampling points using Clarix's interactive floor plan and room register.