
Labels and Barcodes
How to print lot labels and container barcodes from Clarix inventory, and how the container barcode policy works during batch execution.
Clarix generates GMP-compliant lot labels for raw material containers and finished batch containers directly from the system. Labels include all required GMP information — product name, lot number, expiry date, storage conditions, and a scannable barcode — and can be sent directly to a connected Zebra label printer or downloaded for printing.
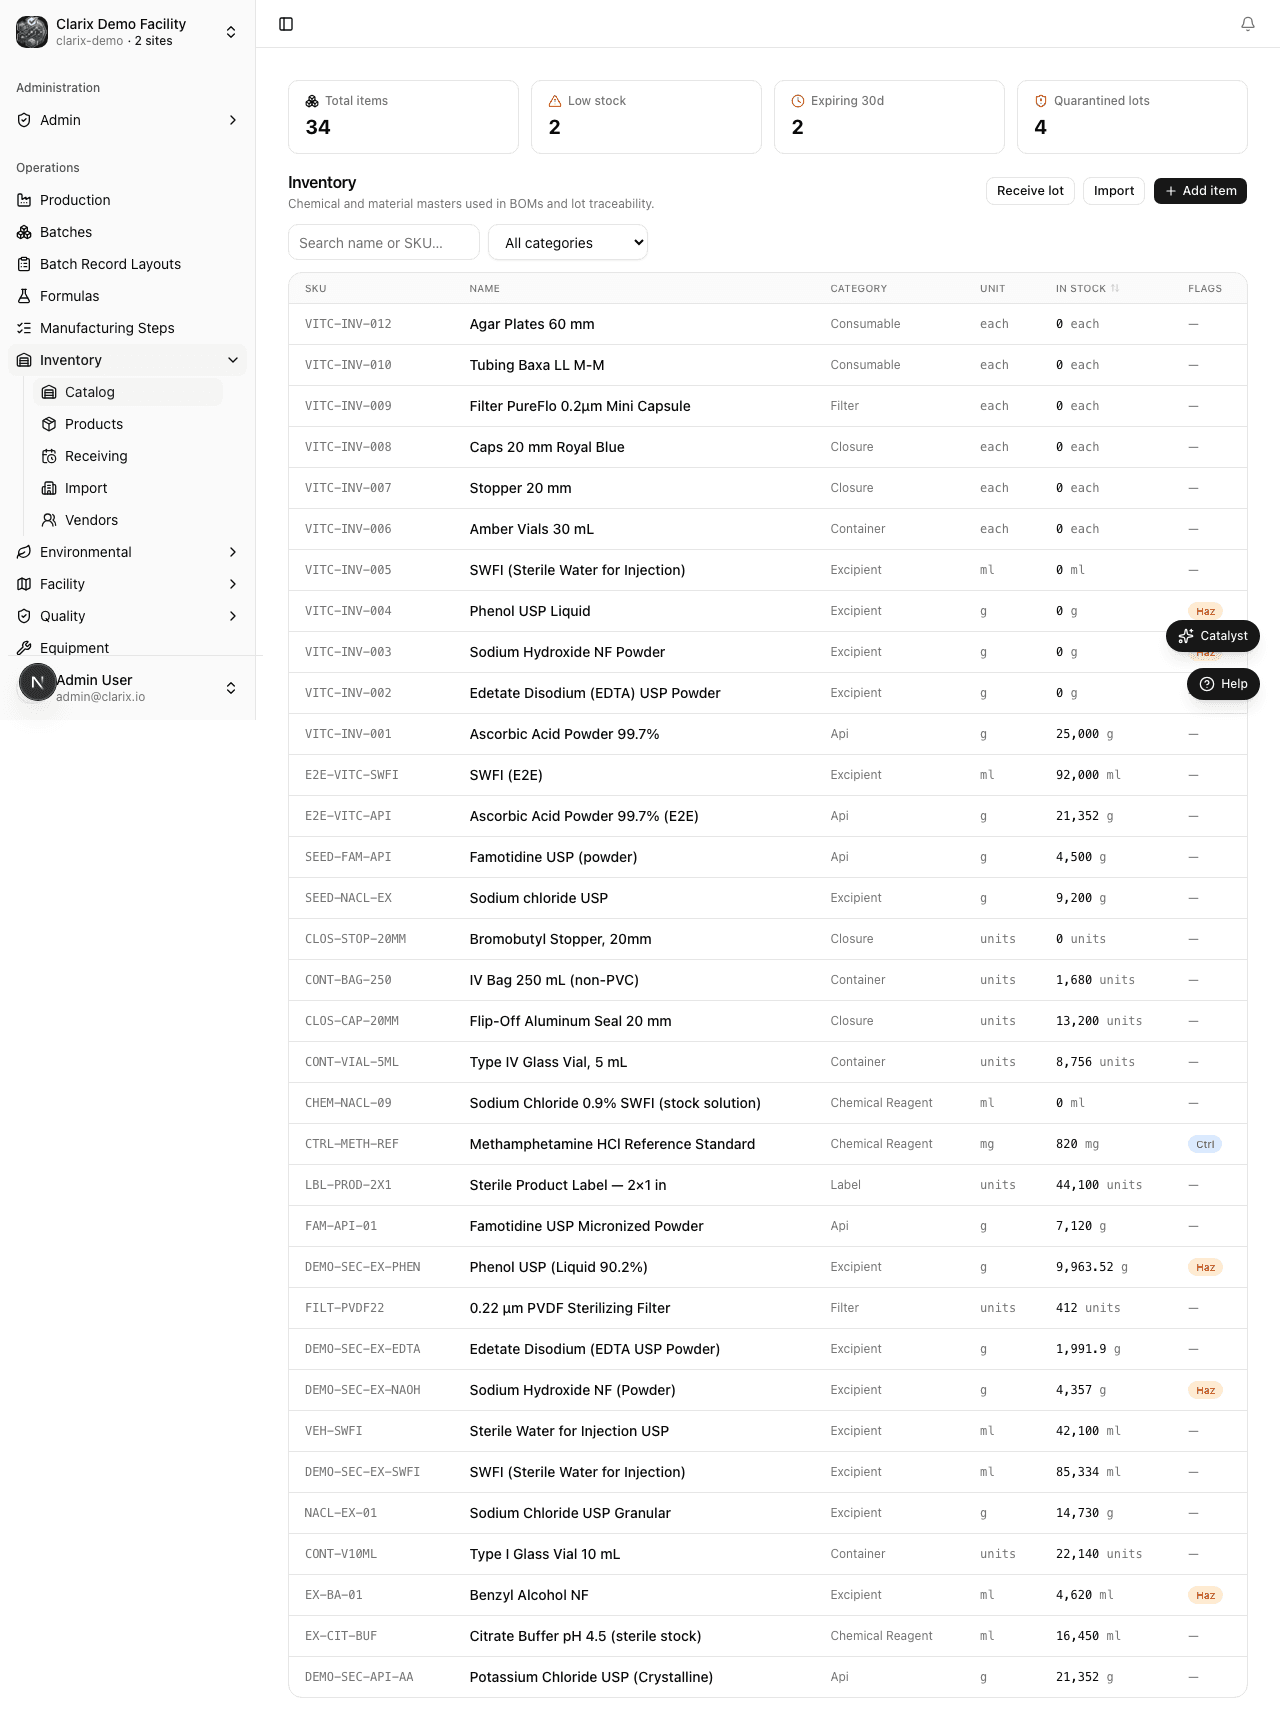
Lot label contents
A Clarix lot label includes the following information:
| Label element | Source |
|---|---|
| Item name | Inventory item name |
| Lot number | Manufacturer lot number entered at receiving |
| Expiry date | Expiry date from the receive lot form |
| Received date | Date the lot was received into Clarix |
| Quantity and unit | Remaining quantity at the time of printing |
| COA assay | Assay percentage from the receive lot form (shown as "Assay: 97.2%") |
| Storage icon | Visual storage condition indicator (refrigerate, room temp, freeze, protect from light) |
| Barcode | Code 128 barcode encoding the lot number |
| Facility name | Your organization name (from account settings) |
| Printed by | Name of the user who printed the label |
| Print date | Date and time the label was generated |
The label is designed to comply with GMP labeling requirements and includes all information needed for lot identification during compounding and dispensing.
Printing a lot label
From the item detail page
- In the sidebar, click Inventory.
- Open the item from the catalog.
- On the Lots tab, find the lot you want to label.
- Click the action menu (three-dot icon) on the lot row.
- Click Print label.
From the lot label page
Each lot has a dedicated label page at the URL path /inventory/items/[itemId]/lots/[lotId]/label. This page shows a preview of the label as it will print.
- Navigate to the lot label page.
- Review the label preview to confirm all information is correct.
- Choose your print action:
- Print to Zebra printer — sends the label as a ZPL command to the configured Zebra printer on your local network. Requires the Clarix Zebra Print Agent to be installed (see Zebra printer setup below).
- Download PDF — downloads a PDF file of the label that you can print from any printer.
- Copy barcode value — copies the lot number barcode value to clipboard for manual entry or testing.
Zebra printer setup
Clarix supports direct-to-printer label output via the ZPL (Zebra Programming Language) protocol. To use this feature:
- Connect your Zebra label printer (e.g., ZT411, ZD621, ZD421, or similar) to your local network via Ethernet or Wi-Fi.
- Download and install the Clarix Zebra Print Agent on a computer on the same network as the printer. The agent is a lightweight background service that listens for print jobs from Clarix and forwards them to the printer.
- In Clarix, go to Settings → Integrations → Label Printers.
- Click Add printer and enter:
- Printer name (for your reference)
- IP address or hostname of the Zebra printer
- Port (typically 9100 for raw ZPL)
- Click Test connection to verify the printer is reachable.
- Click Save.
Once configured, the Print to Zebra printer button on the lot label page will send the job directly to the printer with one click.
Label stock configuration
Clarix generates labels for 2.25" × 1.25" label stock by default (standard pharmacy lot label size). If your facility uses a different label size, contact your Clarix account manager to configure a custom label template.
Copying the barcode value
If you need the barcode value for manual entry, scanning verification, or troubleshooting:
- Open the lot label page.
- Click Copy barcode value.
The lot number is copied to your clipboard. This is also useful when you need to enter the barcode value into another system or when troubleshooting a scanner that is not reading a physical label correctly.
Container barcode policy
The container barcode policy adds an active verification layer during batch execution. When enabled for an inventory item, technicians must scan the physical container barcode during the relevant batch step — not just visually confirm the label.
How it works
-
At receiving: When a lot is received for an item with the barcode policy enabled, the Container barcode field is required. The technician scans the barcode on the supplier's container (or a Clarix-printed label) and enters the value into the lot record.
-
During batch execution: When a Barcode Scan step in the formula is linked to a BOM ingredient that has the barcode policy enabled:
- The technician uses a handheld scanner or the device camera to scan the container barcode.
- Clarix compares the scanned value against the container barcode stored on the issued lot for that ingredient.
- If the values match, the step is accepted and the technician can proceed.
- If the values do not match, Clarix displays an error: "Scanned barcode does not match the issued lot for [Ingredient Name]. Check that you are using the correct container."
- The batch cannot proceed past this step until a matching scan is recorded.
-
Audit trail: Every scan is logged — the scanned value, the expected value, whether the match succeeded or failed, and the user who performed the scan.
Enabling the barcode policy for an item
- Open the inventory item.
- Click Edit.
- Toggle Require container barcode to enabled.
- Click Save.
Recommendation: Enable the container barcode policy for all APIs and high-risk excipients. This provides an independent verification layer that catches material mix-ups before they reach the patient.
Handling lots without a barcode
If the barcode policy is enabled and a lot does not have a barcode on record (e.g., it was received before the policy was enabled), a yellow warning banner appears on the batch step. The batch will not be fully blocked, but the missing barcode is flagged in the batch audit log. Update the lot's barcode from the lot detail page to resolve this.
Label printing from batch records
In addition to lot labels, Clarix generates labels for finished batches. These are configured separately in the Label Templates settings and include patient-facing or facility-use labeling for compounded products. See the Batches documentation for details on batch label printing.