
Step Authoring
Complete guide to creating and configuring the 12 step types available in the Clarix formula step editor, including the calculation variable system.
The Steps tab on a formula defines the complete manufacturing procedure — the exact sequence of actions a technician must perform to produce the batch. Each step is executed in order during batch runs, and Clarix enforces the procedure by requiring completion of each step before the next becomes available. Step authoring is where you translate your SOP into a structured, enforceable electronic batch record.
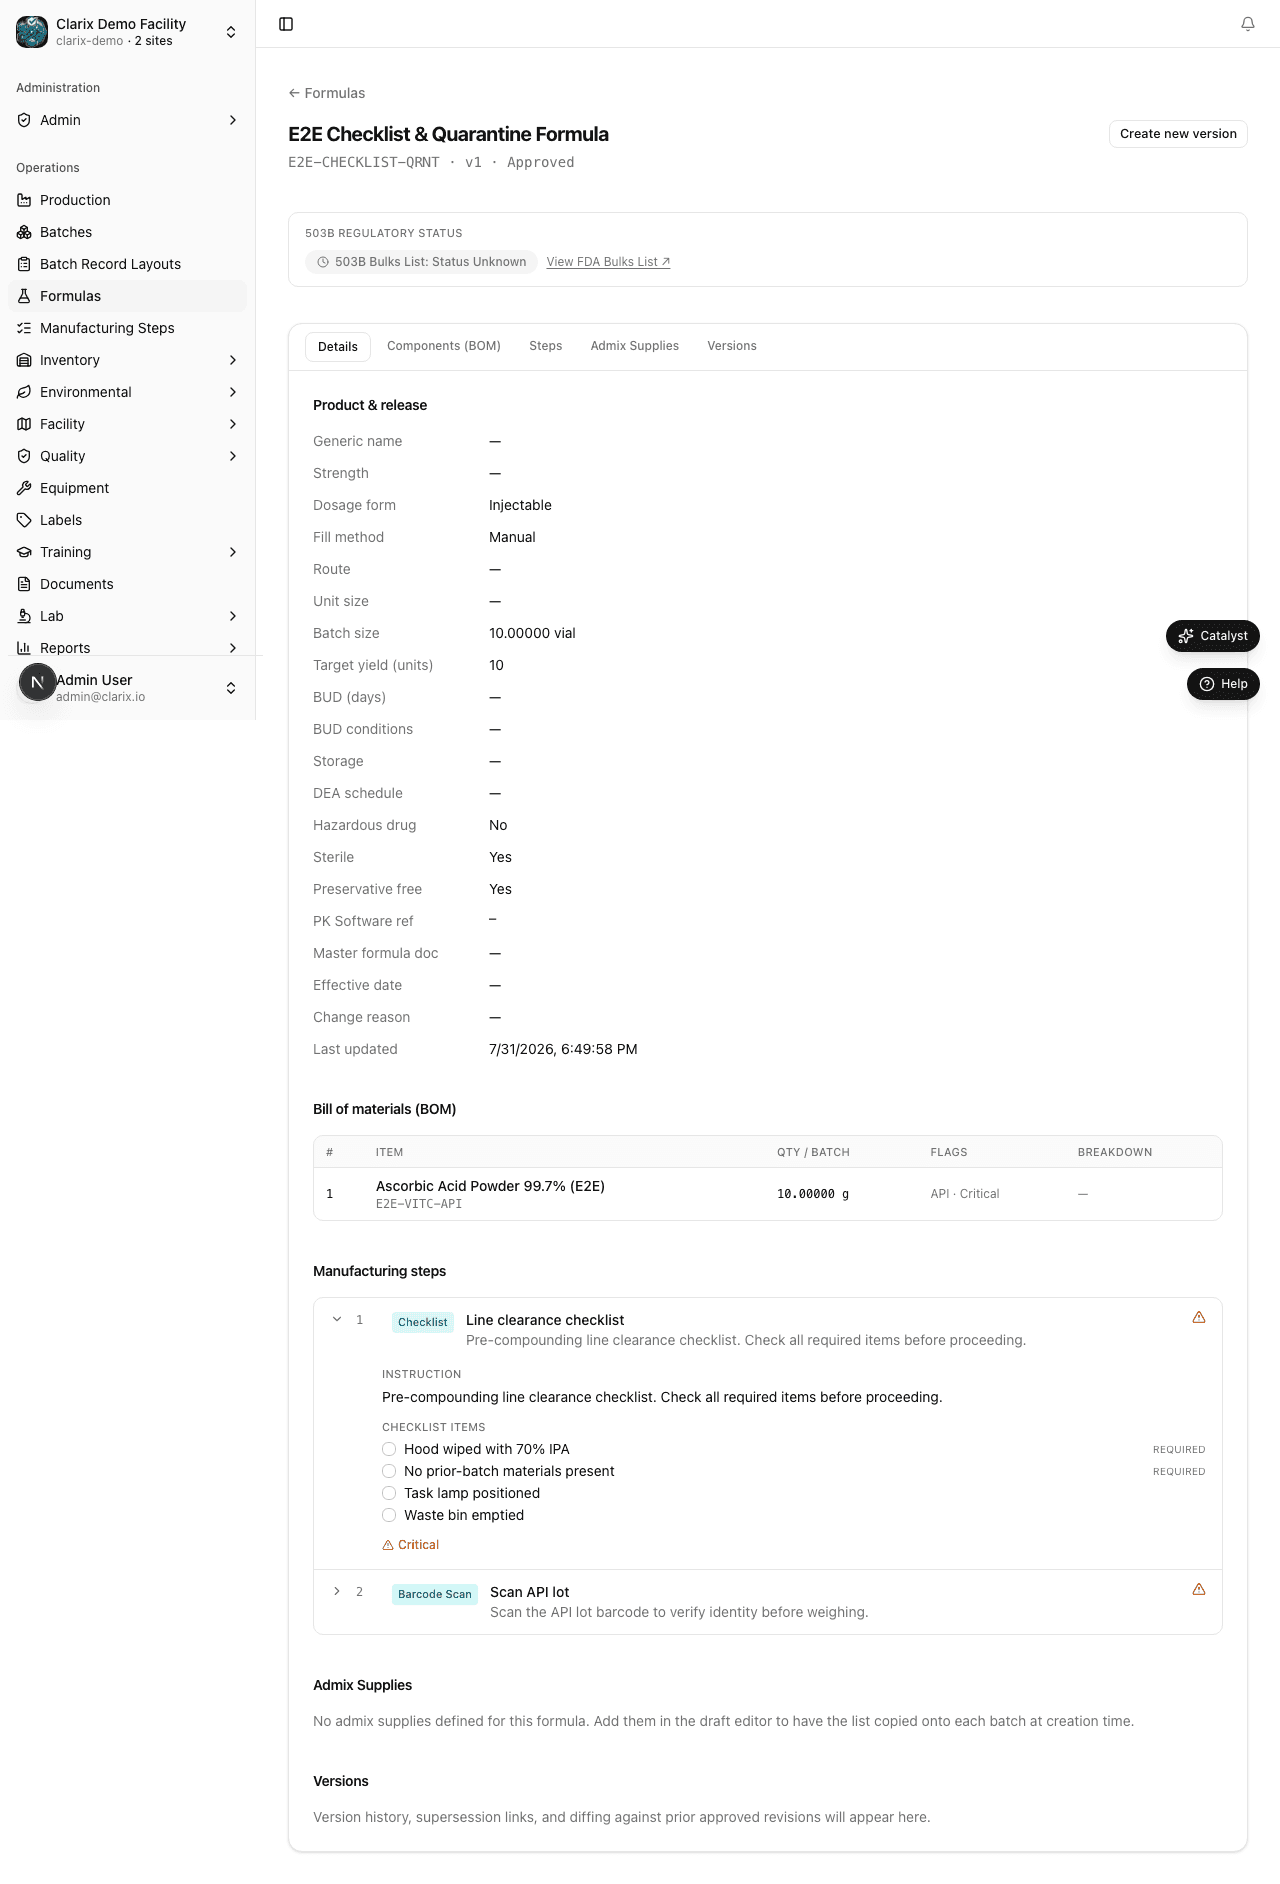
Role required: Compounder, PIC, or QA Manager can author steps on a Draft formula. Steps are locked on Approved formulas.
Opening the Steps tab
- Open a formula in Draft status.
- Click the Steps tab on the formula detail page.
- Click Add step to open the step type selector.
Reordering steps
Steps are executed in the order they appear in the list. To reorder:
- Click and hold the drag handle (six-dot icon) on the left of any step row.
- Drag the step up or down to the desired position.
- Release to drop.
Step numbers update automatically. Any step that references another step by number (e.g., step[3].value in a calculation) will update its reference if you renumber by reordering — always verify calculation references after reordering.
Step types
Clarix supports 12 step types. Select the correct type to get the right fields and enforcement behavior.
1. Instruction
A plain-text step that presents information or a directive to the technician. No data entry is required — the technician reads the instruction and marks it complete.
Fields to configure:
- Instruction text — full prose, supports markdown formatting for bold, lists, and line breaks
- Warning level — None (default), Caution (yellow banner), Warning (orange), Critical (red). Critical steps display a prominent banner that must be acknowledged.
Example use case: "Ensure ISO 5 laminar airflow workbench (LAW) has been running for at least 30 minutes before beginning aseptic manipulations."
2. Measurement
A step where the technician weighs or measures a quantity and records the result. Clarix compares the entered value against the target, minimum, and maximum values you configure.
Fields to configure:
- Label — what is being measured (e.g., "Weigh Famotidine USP")
- Target value — can be a fixed number or a calculation expression (see Calculation variable system)
- Minimum value — lower bound for acceptable entry
- Maximum value — upper bound for acceptable entry
- Unit — the unit displayed next to the input field
- Instrument — optional field for specifying the required scale or instrument (e.g., "Analytical balance — Model A")
Example use case: "Weigh 10.29 g (±0.10 g) of Famotidine USP on the analytical balance. Record the actual weight."
If the technician enters a value outside the min/max range, behavior depends on the Validation mode configured in Settings → Formula Policy (see Soft vs. Strict validation).
3. Data Entry
A free-text or structured field where the technician records an observation, measurement, or identification. Unlike Measurement, no numeric range checking is performed.
Fields to configure:
- Label — what is being recorded (e.g., "Record pH of solution")
- Input type — Text (short string), Number (numeric only), Date, Time, Date + Time
- Required — toggle whether the step must be filled before proceeding
- Help text — additional instructions shown below the input
Example use case: "Record the final pH of the solution. Expected range: 6.5–7.0."
4. Barcode Scan
Requires the technician to scan a barcode using a handheld scanner or the device camera. The scanned value is compared against an expected value or pattern.
Fields to configure:
- Label — what is being scanned (e.g., "Scan Famotidine container barcode")
- Expected value — a fixed barcode value, or leave blank to accept any scan and record the value
- Match mode — Exact match, Starts with, or Contains
- Linked BOM ingredient — optionally link to a BOM ingredient so Clarix can verify the scanned lot matches the ingredient issued to this batch
Example use case: "Scan the container barcode on the Famotidine USP bottle to confirm correct material before weighing."
When a Linked BOM ingredient is set and the batch has issued lots for that ingredient, Clarix automatically validates the scan against the lot barcodes on record.
5. Checklist
A set of checkboxes where the technician must check each item before proceeding. All items must be checked unless marked optional.
Fields to configure:
- Checklist title — heading for the checklist group
- Items — enter each checklist item on a new line; prefix with
?to mark it as optional - Require all — if enabled (default), all non-optional items must be checked
Example use case:
✓ Laminar airflow workbench is ISO 5 certified (current)
✓ All materials have been surface-decontaminated with 70% IPA
✓ Compounding gown, gloves, mask, and goggles are worn
✓ No expired lots are present in the ISO 5 zone
6. Verification
A two-person check step. The primary technician completes the action; a second authorized user verifies and countersigns. This is commonly used for high-risk steps like final volume QS, API weighing, or final visual inspection.
Fields to configure:
- Instruction — what both operators must verify
- Verifier role — the minimum role required for the second signer (e.g., Pharmacist, QA Officer)
- Notes field — allow or require the verifier to add comments
Example use case: "Pharmacist independently verifies the final volume in the graduated cylinder reads 2 500 mL ± 25 mL."
The verifier must be a different user from the primary technician performing the step. Clarix enforces this and will not accept a self-verification.
7. Calculation
Performs a numeric calculation using batch data and displays the result to the technician, or records the computed value. This step type is the heart of Clarix's dynamic formula system.
Fields to configure:
- Label — description of what is being calculated
- Expression — the formula expression (see Calculation variable system)
- Target expression — optional; a separate expression for the expected result
- Minimum expression — lower bound (can itself be an expression)
- Maximum expression — upper bound (can itself be an expression)
- Unit — displayed next to the result
The computed result is stored as step[N].value where N is this step's number, making it referenceable by subsequent steps.
Example use case: "Calculate the adjusted weight of Famotidine USP accounting for lot purity."
Expression: component["Famotidine USP"].qty / component["Famotidine USP"].purity
8. Timer
Displays a countdown timer that the technician must start and allow to complete before marking the step done.
Fields to configure:
- Label — what the timer is for (e.g., "Mixing time")
- Duration — time in minutes and seconds
- Auto-advance — if enabled, the step is automatically marked complete when the timer reaches zero
- Allow early completion — if enabled, the technician can mark done before the timer expires (records a warning in the audit log)
Example use case: "Mix solution on magnetic stirrer at 300 RPM for 15 minutes."
9. Signature / RPh Gate
A mandatory electronic signature step. The batch cannot proceed past this step until the designated signer applies their credentials. This is the primary mechanism for pharmacist in-process checks.
Fields to configure:
- Instruction — what the signer is attesting to
- Required role — the minimum role required to sign (typically Pharmacist or PIC)
- Signature meaning — shown on the signature dialog and the printed batch record (e.g., "I have reviewed the in-process measurements and confirm they are within specification.")
Example use case: "Pharmacist in Charge reviews all in-process measurements and signs to authorize filling."
The signer must enter their Clarix password to apply the signature, satisfying 21 CFR Part 11 electronic signature requirements.
10. Supply Gathering
A structured pick list where the technician gathers materials, equipment, and supplies before beginning compounding. Each item is checked off as it is collected.
Fields to configure:
- Items list — each item on a new line; include quantity and specification (e.g., "2 × 3 L borosilicate glass beaker (sterile)")
- Notes — additional instructions for locating or preparing supplies
Example use case:
□ 1 × 3 L sterile compounding vessel (glass)
□ 1 × calibrated 50 mL syringe
□ Famotidine USP lot (released, not expired)
□ Water for Injection 1 L bag
□ 0.22 µm Sterivex filter unit
11. Label Verification
Directs the technician to inspect a label and confirm it matches expected content. This step is typically used during filling and labeling to prevent mix-ups.
Fields to configure:
- Instruction — what to verify on the label
- Required fields to confirm — a checklist of label fields: Product name, Strength, BUD, Storage conditions, Lot number
- Expected lot — optionally auto-populate from the batch's issued lots
Example use case: "Verify that the printed label shows: Product name — Famotidine 4 mg/mL; Strength — 4 mg/mL; BUD — as calculated; Storage — Refrigerate."
12. Photo Capture
Requires the technician to take a photograph using their device camera or upload an image. The photo is attached to the batch record as evidence.
Fields to configure:
- Label — what should be photographed (e.g., "Photograph final fill with weight on scale")
- Required — whether a photo is mandatory before proceeding
- Help text — tips for capturing a clear image
Example use case: "Photograph the filled vials in the tray before capping. Ensure the lot label is visible in the frame."
Calculation variable system
The Calculation step (and the target/min/max fields of Measurement steps) supports a set of built-in variables that reference live batch data:
| Variable | Description |
|---|---|
batchSize | The target batch size defined in the formula (e.g., 2500 for a 2 500 mL batch) |
purity | The purity of the primary lot (0 to 1 scale; e.g., 0.972 for 97.2% assay) |
step[N].value | The recorded value from step number N in this batch |
component["Name"].qty | The BOM target quantity for the ingredient named "Name" |
component["Name"].purity | The lot purity for the ingredient named "Name" (from the COA assay of the lot issued to this batch) |
Example expressions
Purity-adjusted API weight:
component["Famotidine USP"].qty / component["Famotidine USP"].purityIf the BOM target is 10 g and the lot assay is 97.2%, this evaluates to 10.288 g.
Net volume after overfill:
step[3].value - step[2].valueIf step 2 recorded the tare weight and step 3 recorded the gross weight, this computes the net weight.
Percentage yield:
(step[8].value / batchSize) * 100Tolerance expressions:
Target:  component["Famotidine USP"].qty / component["Famotidine USP"].purity
Minimum: (component["Famotidine USP"].qty / component["Famotidine USP"].purity) * 0.98
Maximum: (component["Famotidine USP"].qty / component["Famotidine USP"].purity) * 1.02
This sets a ±2% tolerance around the purity-adjusted target, computed dynamically using the actual lot's COA data at batch execution time.
Soft vs. strict validation
Validation mode controls what happens when a technician's measurement falls outside the acceptable range.
| Mode | Behavior |
|---|---|
| Soft | A warning is shown; the technician can acknowledge and continue. An out-of-tolerance flag is recorded in the audit trail. |
| Strict | The technician cannot proceed past the step. A deviation must be opened and addressed before the batch can continue. |
The validation mode is set at the organization level in Settings → Formula Policy. Individual steps cannot override the global setting.
Recommendation for 503B facilities: Use Strict validation for API weighing and critical process parameters. Use Soft validation for informational data entry steps where judgment-based exceptions are expected.